This Cheap DIY Method Works Better Than Professional Whitening!
You’ll save hundreds by using natural ingredients from your kitchen to whiten your teeth instead of paying $500-1000 for professional treatments. DIY whitening combines organic acids, abrasives, and enzymes from common items like baking soda, strawberries, and hydrogen peroxide to safely remove stains. With proper application, you’ll see noticeable results in 2-3 weeks that can last up to 6 months. Discover the step-by-step method to achieve a brighter smile naturally.
Why Professional Whitening Costs So Much
While many people dream of a brighter smile, professional teeth whitening treatments can cost anywhere from $500 to $1,000 per session.
You’re paying for more than just the whitening product – you’re covering the dentist’s expertise, overhead costs, and specialized equipment.
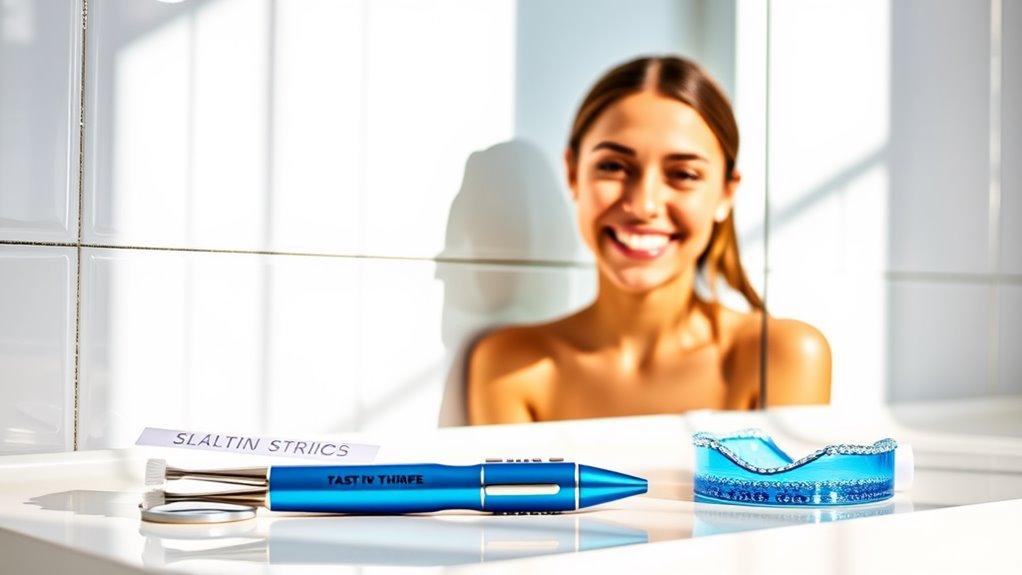
Professional whitening systems use high-concentration peroxide gels that require careful application by trained staff. The process often involves custom-fitted mouth trays and protective measures for your gums and soft tissues.
You’ll also find that the office’s rent, utilities, staff salaries, and insurance all factor into the final price.
Additionally, dentists must invest in expensive LED lights or laser systems that activate the whitening compounds.
These devices, which can cost thousands of dollars, are built into your treatment fees.
The Science Behind Natural Teeth Whitening
Although professional treatments rely on peroxide-based compounds, natural teeth whitening works through different chemical and mechanical processes. You’ll find that organic acids, abrasives, and enzymes in natural ingredients can effectively break down stains and remove discoloration from your enamel.
| Agent Type | How It Works | Natural Sources |
|---|---|---|
| Organic Acids | Dissolves surface stains | Citrus fruits, apple cider vinegar |
| Abrasives | Polishes enamel surface | Baking soda, activated charcoal |
| Enzymes | Breaks down proteins | Pineapple, papaya |
These natural whitening agents work more gently than chemical alternatives, making them safer for long-term use. The key is understanding which compounds target specific types of stains. While acids attack surface discoloration, enzymes work on protein-based stains, and abrasives help remove stubborn deposits.
Your DIY Whitening Shopping List
To create your natural teeth whitening treatments at home, you’ll need to gather specific ingredients that harness the power of organic acids, abrasives, and enzymes.
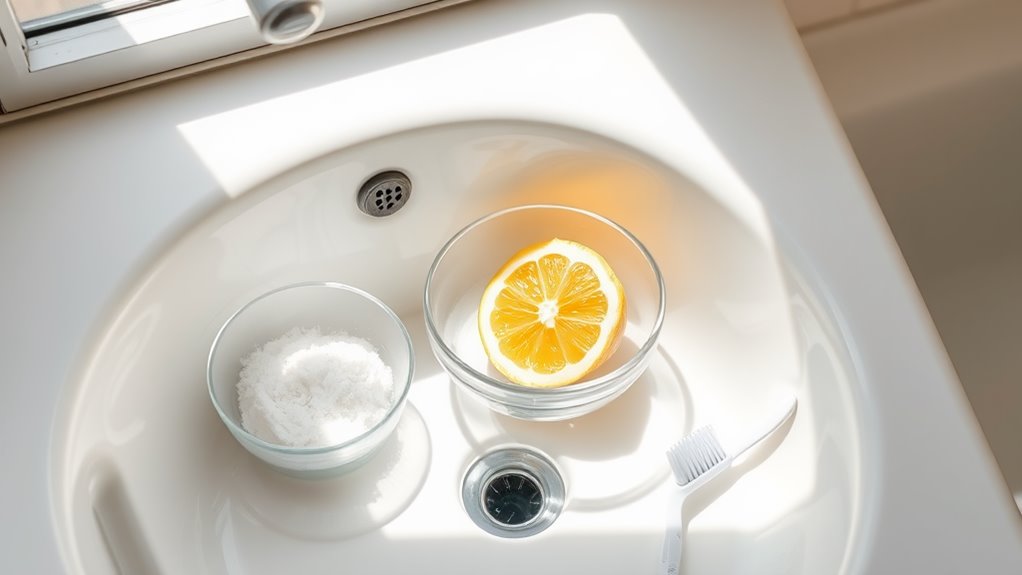
Head to your local grocery store and pick up fresh strawberries, baking soda, hydrogen peroxide (3%), activated charcoal powder, and fresh lemon juice.
You’ll also need apple cider vinegar, coconut oil, and sea salt for various whitening combinations.
Don’t forget to grab a new soft-bristled toothbrush dedicated to your whitening treatments.
Stock up on peppermint essential oil to improve taste and freshness.
If you’re planning to make larger batches, purchase small glass jars for storage.
These ingredients are affordable and readily available, costing far less than professional treatments while delivering comparable results.
Step-by-Step Application Guide
Before applying any DIY whitening treatment, you’ll need to prep your teeth properly. Brush and floss thoroughly, then dry your teeth with a clean paper towel.
Mix one teaspoon of baking soda with enough hydrogen peroxide to form a paste.
Apply the mixture to your teeth using a soft toothbrush or cotton swab, ensuring even coverage. Let it sit for 2 minutes, but don’t exceed this time to avoid enamel damage.
- Keep your mouth open and avoid letting the mixture touch your gums
- Don’t swallow any of the whitening paste
- Rinse thoroughly with lukewarm water afterward
Once you’re done, wait at least 30 minutes before eating or drinking.
Repeat this process no more than twice per week for optimal results and minimal sensitivity.
Results and Maintenance Tips
Results from DIY teeth whitening typically become noticeable within 2-3 weeks of consistent treatment.
You’ll see gradual improvements in shade, with optimal results appearing after 4-6 weeks of regular use. Your results can last 3-6 months, depending on your habits and maintenance routine.
To maintain your brighter smile, brush twice daily with whitening toothpaste and avoid staining substances like coffee, red wine, and tobacco.
If you can’t skip your morning coffee, use a straw to minimize contact with your teeth. Rinse your mouth with water after consuming acidic or staining foods.
You can also perform touch-up treatments every few months to preserve your results.
Remember to maintain regular dental check-ups, as professional cleanings help remove surface stains and protect your oral health.
