Brush With THIS Once a Week for Whiter Teeth Instantly!
If you’re looking for an easy way to brighten your smile, you might want to consider a simple yet effective method involving two common household items. With just a mix of baking soda and hydrogen peroxide, you can create a powerful whitening paste. Using this once a week could lead to noticeable results. Curious about how to make it and apply it safely? Let’s explore the details.
The Power of Baking Soda and Hydrogen Peroxide
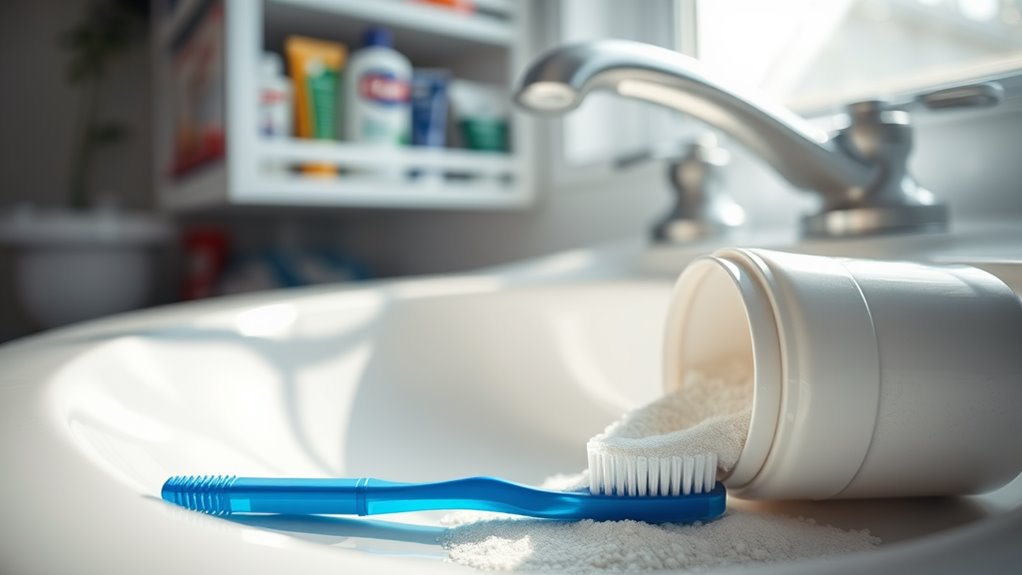
Baking soda acts as a gentle abrasive, helping to scrub away stains without damaging your enamel. Meanwhile, hydrogen peroxide is a natural bleaching agent that can brighten your smile. To create your own whitening paste, simply mix these two ingredients until you form a smooth consistency. Applying this paste once a week can lead to noticeable results, giving you the confidence boost you crave. However, it’s important to remember that frequent use of baking soda can lead to enamel erosion, which may compromise your dental health in the long run. Plus, using these common household items makes you feel like part of a community that values natural solutions.
Essential Ingredients for Your DIY Whitening Paste
Creating an effective DIY whitening paste requires just a few essential ingredients that pack a powerful punch.
First up is baking soda, a natural abrasive that gently scrubs away stains while balancing your mouth’s pH. Next, hydrogen peroxide acts as a natural bleaching agent, brightening your smile without harsh chemicals. Combine these two for an unbeatable duo!
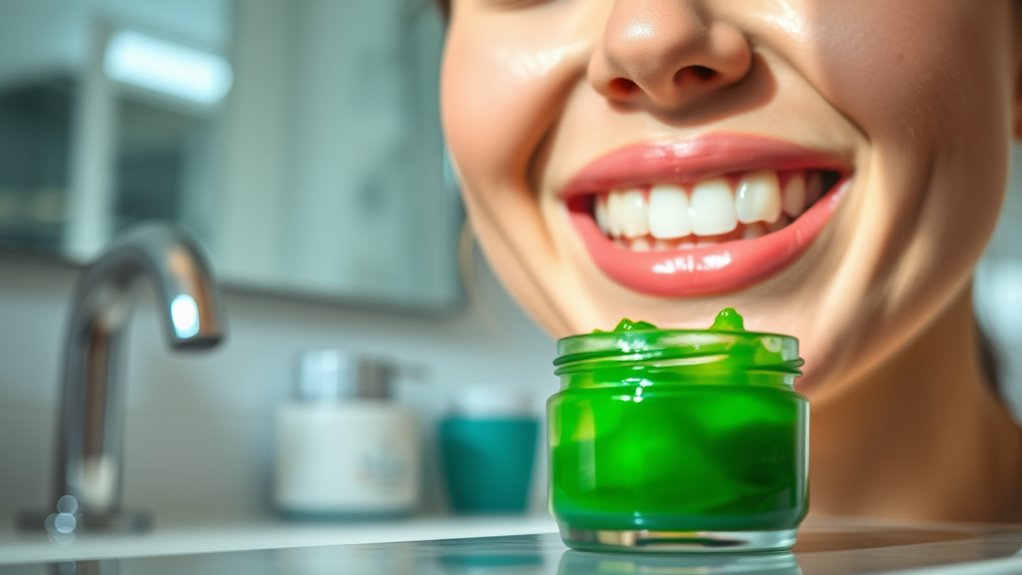
You can also add coconut oil for its antibacterial properties, helping to maintain gum health and freshen breath. A dash of lemon juice can provide an extra boost, but use it sparingly—its acidity can be tough on enamel.
Lastly, a bit of peppermint extract not only flavors your paste but also leaves you with a refreshing aftertaste. Additionally, it’s important to remember that natural methods may require consistent use for noticeable effects over time.
With these ingredients, you’ll feel empowered to create a whitening paste that aligns with your values and enhances your smile. Get ready to shine confidently in any crowd!
Step-by-Step Guide to Applying the Treatment
To achieve a brighter smile with your DIY whitening paste, follow these simple steps for effective application.
First, gather your ingredients and mix them in a small bowl until you create a smooth paste. Make sure you’ve got a soft toothbrush handy, as this will help you apply the mixture gently.
Next, dampen your toothbrush, dip it into the paste, and start brushing your teeth. Focus on one section at a time to ensure even coverage. Brush for about two minutes, taking your time to avoid any harsh scrubbing.
Once you’ve finished brushing, rinse your mouth thoroughly with water to remove all residue. You can repeat this treatment once a week for best results. However, be cautious not to overuse whitening products, as excessive use can harm enamel and cause sensitivity.
Lastly, take a moment to admire your brighter smile in the mirror before stepping out, feeling confident and ready to share that radiant grin with the world!
Safety Tips for Teeth Whitening at Home
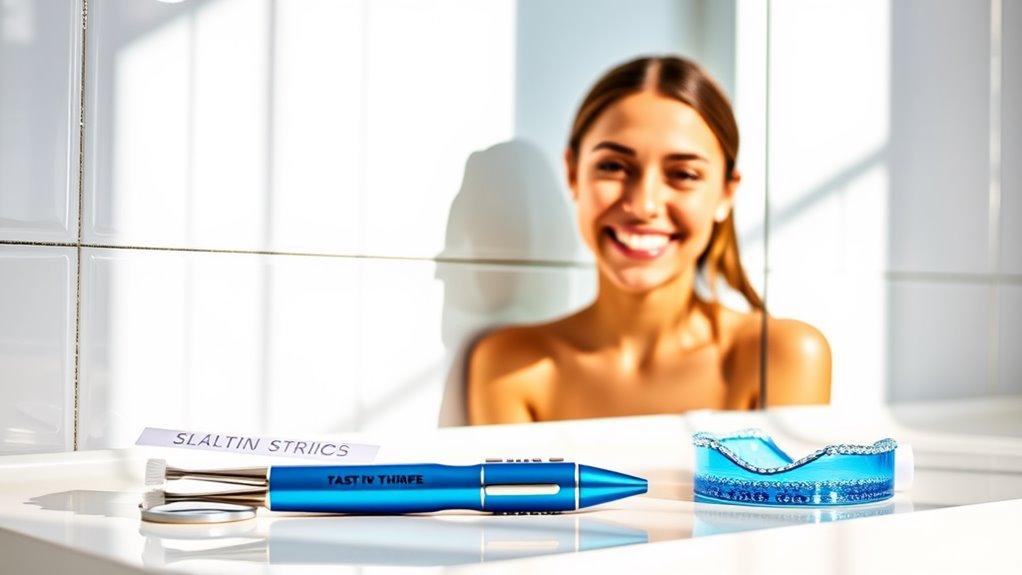
While achieving a brighter smile at home can be tempting, it’s crucial to prioritize safety to avoid potential damage to your teeth and gums. Start by choosing products that are specifically designed for at-home use and approved by dental professionals. Always read the instructions carefully, as overuse can lead to sensitivity or enamel erosion.
Before you begin, consider doing a patch test to check for any allergic reactions. If you have existing dental issues, consult your dentist first. It’s also important to avoid mixing different whitening products, as this can cause harmful reactions.
Limit the frequency of your treatments; using them too often can backfire. Remember to maintain good oral hygiene by brushing and flossing regularly. Additionally, be aware that some whitening agents can erode enamel over time, so selecting gentler options is vital for your dental health.
Finally, stay hydrated and avoid staining beverages like coffee or red wine immediately after whitening. Prioritizing these safety tips will help you achieve a dazzling smile without compromising your dental health.
Expected Results: What to Look For
As you embark on your teeth whitening journey, it’s essential to know what results to expect, so you can set realistic goals.
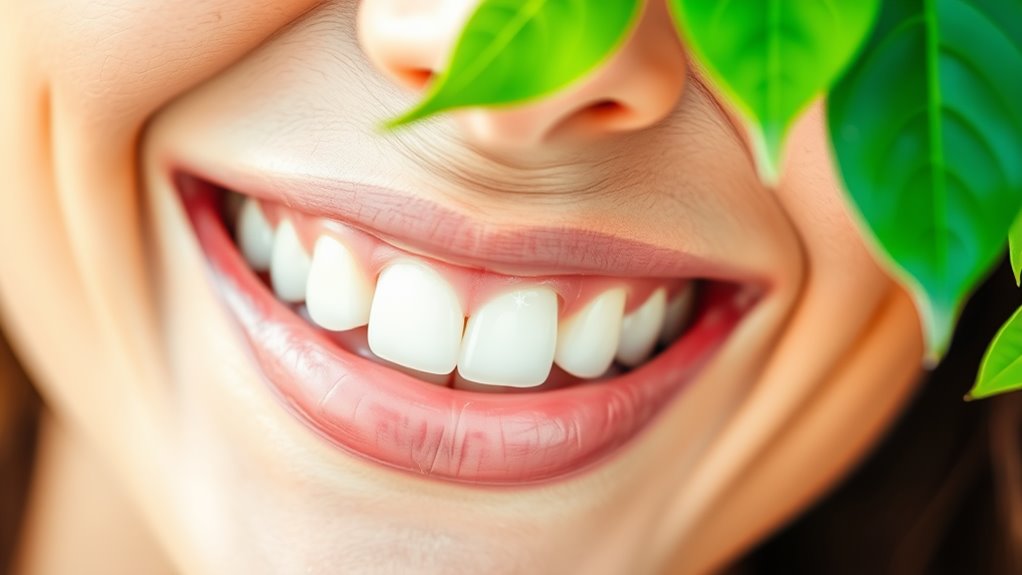
After using your whitening solution weekly, you’ll likely notice a gradual improvement in your smile. Many people report a brighter shade within just a few treatments, often achieving noticeable results after about four to six weeks.
Keep in mind, individual results can vary based on factors like initial tooth color and lifestyle habits. You might see your teeth lighten by a couple of shades, giving you that confidence boost you’ve been craving.
Look for that fresh, clean feeling and a noticeable reduction in stains, especially if you enjoy coffee or tea. Remember to listen to sensitivity signs that may arise during your whitening process to ensure you maintain optimal dental health.
Maintaining Your Bright Smile After Treatment
Once you’ve achieved your dazzling smile, maintaining that brightness becomes key to keeping your confidence intact.
To ensure your teeth stay radiant, make it a habit to brush twice a day with a whitening toothpaste. Don’t forget to floss daily; it helps remove plaque and food particles that can dull your shine.
Watch what you eat and drink, too. Limit coffee, tea, and red wine, as these can stain your pearly whites. If you indulge, rinse your mouth with water afterward to minimize staining.
Regular dental check-ups are crucial, so make those appointments a priority. Professional cleanings can keep your smile looking its best.
Lastly, consider touch-up treatments every few months to maintain that fresh look.